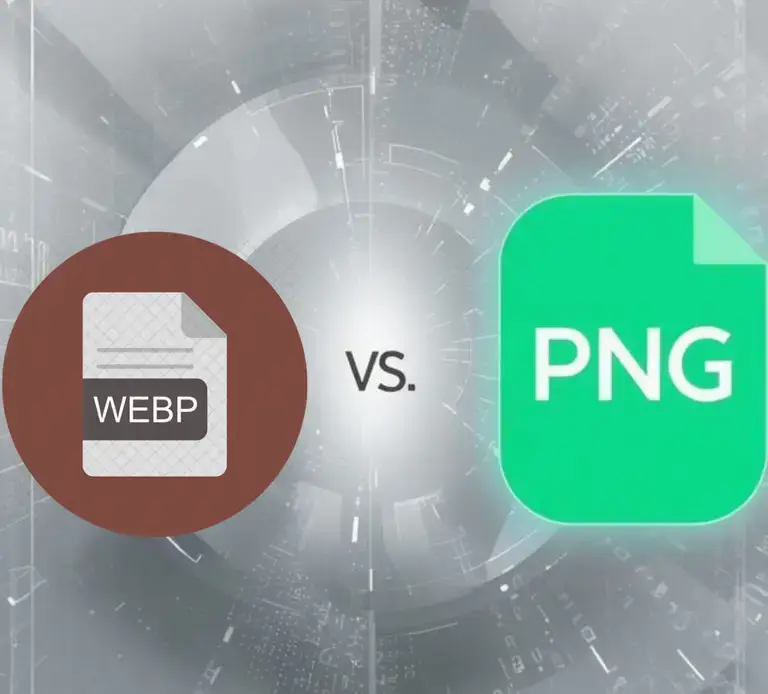
If you’re a content creator, blogger, or social media manager, you’ve likely encountered the WebP image format. While it’s fantastic for website speed, its limited compatibility with some desktop applications, editing software, and social media platforms can be a major headache. There are countless situations where you need a reliable, universal PNG file.
That’s why knowing how to convert WebP to PNG is an essential skill. In this guide, we’ll compare the five most effective methods, from one-click online tools to advanced automated scripts, helping you find the perfect solution for your workflow.
Why Would You Need to Convert WebP to PNG?
Before we dive into the “how,” let’s quickly address the “why.” WebP is a modern, efficient format, but PNG still reigns supreme in several areas:
- Editing Flexibility: Many popular desktop applications (like older versions of Photoshop or certain video editors) still have limited or no support for WebP.
- Universal Compatibility: Need to insert an image into a PowerPoint presentation, Word document, or send it to a client? PNG is a safer bet for guaranteed opening.
- Social Media & Publishing: Some content management systems and social media platforms still prefer or work more reliably with PNG files, especially for graphics with transparency.
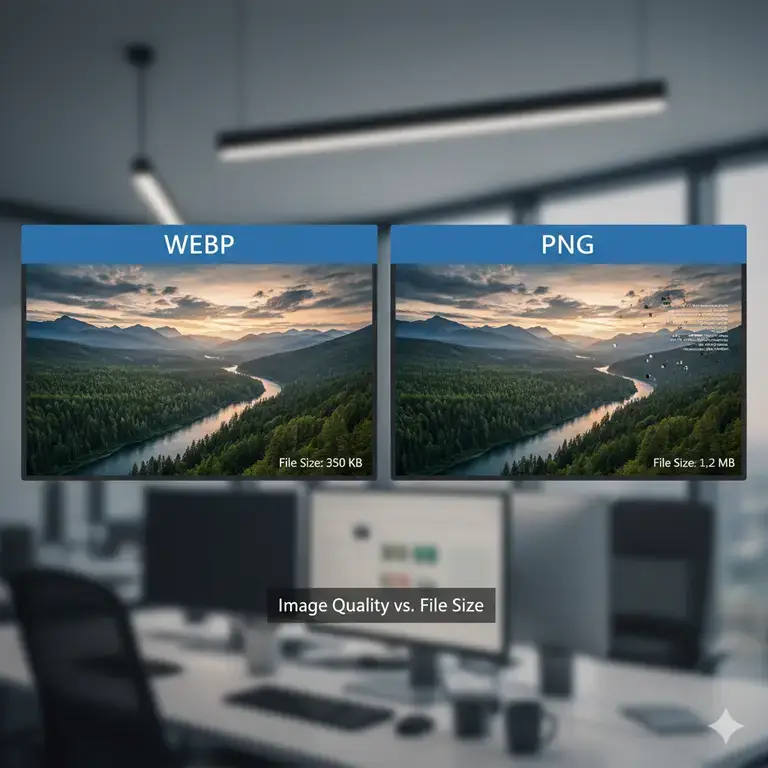
- Lossless Quality: For detailed screenshots, graphics with text, or logos, converting a lossless WebP to a lossless PNG preserves every single pixel perfectly.
No matter your reason, one of the five methods below will be your solution.
First Method – Online Converter Tools (The Easiest for Most)
Best for: Quick, one-off conversions without installing software. Perfect for bloggers and social media managers.
Online tools are the fastest way to get the job done. Simply upload your WebP file, and the website delivers a PNG back to you.
How it Works:
- Navigate to an online converter (like our WebP to PNG converter).
- Drag and drop your WebP file or select it from your computer.
- Click the “Convert” button.
- Download your new PNG file.
Pros:
- No Installation Required: Use it directly in your browser.
- Platform Independent: Works perfectly on Windows, Mac, Linux, and ChromeOS.
- Extremely User-Friendly: The process is intuitive and requires no technical knowledge.
- Accessible Everywhere: Convert files on any computer with an internet connection.
Cons:
- Requires an Internet Connection.
- Privacy Concerns: For highly sensitive images, you might be wary of uploading to a third-party server.
- Can be slower for batch conversions compared to desktop software.
Second Method – Desktop Software (The Power User’s Choice)
Best for: Frequent conversions, batch processing, and integrating conversion into a creative workflow.
Desktop applications like Adobe Photoshop, GIMP, and XnConvert offer robust conversion features.
How it Works (using GIMP as a free example):
- Open your WebP file in GIMP.
- Go to
File > Export As... - In the dialog box, change the file extension from
.webpto.png. - Click
Exportand confirm the settings in the next window.
Pros:
- Batch Processing: Convert hundreds of files at once (a feature of tools like XConvert and our batch image converter).
- No Upload/Download Wait Times: Everything happens on your machine.
- Offline Access: Work without an internet connection.
- Additional Editing: You can edit the image before saving it as a PNG.
Cons:
- Requires Software Installation.
- Can be Overkill if you only need to convert a single file.
- Might have a learning curve for more advanced software.
Third Method – Browser Extensions (The Convenient Quick-Fix)
Best for: Quickly saving individual WebP images from the web as PNGs.
Browser extensions like “Save Image As PNG” for Chrome or Firefox add a new option to your right-click menu, allowing you to save any WebP image directly as a PNG.
How it Works:
- Install the extension from your browser’s web store.
- When you find a WebP image on a website, right-click on it.
- Select the new option, e.g., “Save image as PNG.”
- Choose your download location.
Pros:
- Extremely Convenient for grabbing images from the web.
- Integrates directly into your browsing workflow.
- Very fast for single images.
Cons:
- Only works on images displayed in your browser.
- Does not help with WebP files already on your computer.
- Quality can vary between extensions; some may not perfectly preserve the original quality.
Fourth Method – Command Line (The Developer’s Method)
Best for: Developers, system administrators, and anyone comfortable with a terminal who needs to automate conversions.
For those who love efficiency and automation, the command line is king. Tools like libwebp (by Google) or ImageMagick can handle conversion with a single command.
How it Works (using libwebp on Windows, Mac, or Linux):
- Install the WebP utilities package from Google.
- Open your terminal or command prompt.
- Navigate to the folder containing your
.webpfile. - Run a command like:
dwebp image.webp -o image.png
Pros:
- Highly Efficient for bulk conversions.
- Easy to Automate: Can be scripted for recurring tasks.
- No Graphical Interface Overhead: Uses minimal system resources.
Cons:
- Not user-friendly for non-technical people.
- Requires software installation and setup.
- No preview of images.
Fifth Method – Programming Libraries (The Custom Application Builder)
Best for: Web developers building applications or custom scripts that require image processing.
If you’re building a web app or a custom tool, you can integrate conversion directly into your code using libraries in various programming languages.
Examples:
- Python: Use the
Pillow(PIL) library. - Node.js: Use the
sharporimagemin-webppackages. - PHP: Use the
GDorImagickextension.
Pros:
- Full Control & Customization: You can build conversion into your own workflows and applications.
- Powerful Automation: Perfect for server-side processing.
- Scalable: Can handle conversion for a large user base.
Cons:
- Requires programming knowledge.
- The most complex method to set up.
Quick Comparison Table
| Method | Best For | Ease of Use | Batch Support | Technical Skill Required |
|---|---|---|---|---|
| Online Tools | Everyone, Quick Jobs | Very Easy | Limited | None |
| Desktop Software | Power Users, Designers | Moderate | Excellent | Low to Moderate |
| Browser Extensions | Saving from the Web | Very Easy | No | None |
| Command Line | Developers, Automation | Difficult | Excellent | High |
| Programming | Custom Applications | Very Difficult | Excellent | Expert |
Quality Preservation Tips
No matter which method you choose, follow these tips to ensure your PNG looks perfect:
- Start with a High-Quality Source: If your original WebP is a low-quality, lossy file, converting it to PNG won’t magically add detail. PNG will only preserve the quality you give it.
- Use Lossless Settings: When using online tools or software, ensure you’re not applying additional lossy compression during the conversion. Our image quality checker can help you verify the results.
- Check Transparency: If your WebP has a transparent background, confirm that the transparency is maintained in the final PNG.
- Avoid Multiple Conversions: Repeatedly converting between lossy formats (like converting a WebP to a PNG and then to a JPG) can lead to generational quality loss. Always go back to your original source file when possible.
The Verdict: Which Method Should You Choose?
- For 95% of content creators and bloggers, the online converter method is the winner. It’s fast, free, and requires zero technical setup. It solves the immediate problem without adding complexity to your workflow.
- If you find yourself converting dozens of images daily, invest in a desktop application with batch processing.
- If you primarily need to save WebP images from websites, a browser extension is your best friend.
- Reserve command line and programming methods for when you have specific technical needs or are building automated systems.
Don’t let file formats slow you down. Convert WebP to PNG instantly with our free online tool—no installation or technical skills required. Get your universal PNG file in just two clicks!