The holidays are a whirlwind of joy, family, and unforgettable moments—all captured in dozens, if not hundreds, of photographs. Whether you’re using the powerful camera on your latest smartphone or a professional DSLR, you’ve likely run into a common modern problem: massive file sizes.
It’s not unusual for a single DSLR photo to be over 20MB, and even smartphone images can be several megabytes each. Trying to share these via email, WhatsApp, or even social media can be a nightmare. They clog up inboxes, take forever to upload, and can count heavily against your mobile data.
The good news? Reducing file size is simple, fast, and often free. This guide will walk you through the best methods, from super-fast online tools to handy mobile apps.
Why Are My Holiday Photos So Large?
In a nutshell, it’s about quality. Modern cameras capture immense detail using high resolution (measured in megapixels) and store a lot of color information. This is perfect for printing large canvases, but overkill for a Facebook post. Reducing the file size simply means optimizing this data for screens, not print.
Method 1: The Easiest Way – Free Online Tools (No Installation Needed)
This is the best method for most people. You just open a website in your browser, drag and drop your photos, and download the smaller versions. It’s perfect for doing a large batch on your laptop.
Our Top Recommendation: resizeimage.io
We highly recommend our tool for this task, and here’s why:
- Privacy First: This is its biggest advantage. The tool runs entirely in your browser. Your precious holiday photos are never uploaded to any server, so they remain 100% private and secure.
- Incredibly Simple: The interface is clean and intuitive. Just drag your photos onto the page.
- Powerful & Free: You can resize by dimensions (e.g., make it 1200 pixels wide) or by a percentage. You can also choose the level of compression to control the quality vs. file size trade-off. It’s completely free and unlimited.
How to use it:
- Go to resizeimage.io.
- Drag and drop your large holiday photos onto the webpage.
- Choose your desired output size (e.g., “50%” or set a max width of “1920px”).
- optionally, adjust the quality slider. A value of 70-80% often gives a much smaller file with no visible loss in quality on screens.
- Click “Download” and save your optimized images!
Other great online tools: TinyPNG (great for PNGs), Squoosh.app (by Google, very advanced).
Method 2: The On-the-Go Solution – Mobile Apps
You’ve just taken the perfect family photo and want to send it to the group chat now. Using a mobile app is your fastest bet.
- Photo Compress (iOS) / Photo & Picture Resizer (Android): These dedicated apps are straightforward. You select photos from your gallery and choose a target file size or resolution.
- Built-in Features (iOS): When you email a photo from your iPhone, it actually asks you if you want to choose a size (Small, Medium, Large, or Actual Size). Always choose “Medium” for sharing—it’s perfectly clear on phone screens and a fraction of the size.
- WhatsApp/Instagram Compression: Remember, these apps automatically compress images. If you share via WhatsApp, it will already be reduced. This is fine for casual chats but can sometimes degrade quality too much.
Method 3: The Power-User Method – Desktop Applications
If you’re already organizing your photos on a computer, using a built-in or free application is efficient.
- For Windows Users:
- Paint (Yes, really!): It’s built-in and works. Open your image in Paint, click “Resize,” choose “Pixels,” and set a horizontal value (e.g., 1500). Make sure “Maintain aspect ratio” is checked. Save As a JPEG.
- Photos App: The modern Windows Photos app has a “Save a Copy” feature where you can change the file size quality.
- For Mac Users:
- Preview (The Best Kept Secret): This is Mac’s built-in powerhouse.
- Open your image in Preview.
- Go to Tools > Adjust Size.
- Enter a new width (e.g., 1500 or 2000 pixels). The height will adjust automatically.
- Ensure “Scale proportionally” and “Resample image” are checked.
- Click “OK” and then File > Export. In the export dialog, you can use a slider to adjust the JPEG quality, giving you perfect control over the final file size.
- Preview (The Best Kept Secret): This is Mac’s built-in powerhouse.
Best Practices for Shrinking Your Holiday Photos
- Always Keep the Originals: Never overwrite your original, high-resolution files. Always save the reduced-size version as a copy. You’ll want the originals for printing later!
- Aim for the “Sweet Spot”: For sharing on screens, a resolution between 1500 and 2500 pixels on the longest side is more than enough. The file size will typically drop to a manageable 100-500KB.
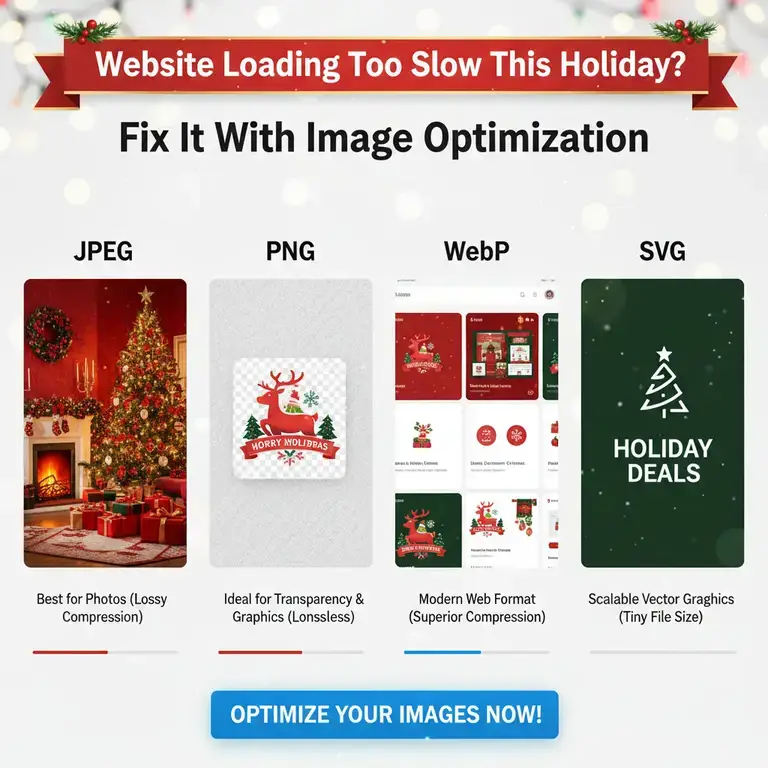
- Use JPEG for Photos: When saving, the JPEG format is perfect for photographs. It provides the best balance of quality and small file size.
Conclusion: Share the Joy, Not the Large Files
You don’t need to be a tech expert to free yourself from the burden of huge photo files. The next time you’re ready to share your holiday memories, you have the tools:
- For quick, private, bulk work: Use ResizeImage IO’s Png to WebP or JPG to WebP converter on your computer.
- For instant sharing from your phone: Use a simple resizer app or the built-in email option.
- For integrated workflow on a Mac/PC: Use Preview or Paint.